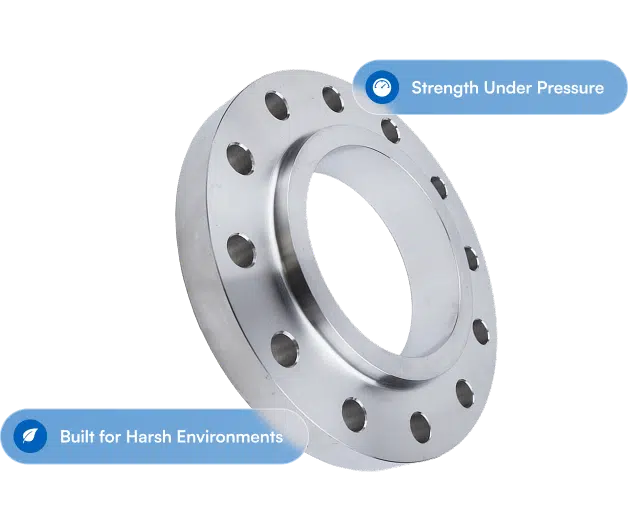
How Do I Identify an Unmarked Flange? A Field Guide to Decoding Mystery Flanges in Your Plant
Some systems hold up mighty well with age, but we all know ol' father time is undefeated, y’all…
A maintenance lead emailed us this week with a problem we hear about all the time, and if you're readin' this, I reckon you've run into this same mess out in the field once or twice in your career too. So his plant was workin' a turnaround on a 30 year old unit. They pulled a flanged connection apart, found a crack in the hub, and went down to the warehouse to grab a spare off the rack. That spare bin held three flanges of roughly the right size, but not a one of 'em had any markin's. No heat number, no class stamp, no manufacturer ID… nothin' on the OD. The original purchase records were nowhere to be found, and the feller who bought 'em done retired a long time back.
His question was plain and simple: How do I figure out what dese are?
The honest answer is, some of it you can figure out in the field with a tape measure and good eyes, and some of it you can't figure out at all without a lab and the proper purchase records or MTRs/documentation. Let's talk about the practical workflow we walk customers through when this comes up, y'all.
First, Make Sure It's Really Unmarked
ASME B16.5 Section 4 says manufacturers gotta mark forged flanges with the size, pressure class, material grade, heat number, and the manufacturer's identification. That markin' goes on the outer diameter, usually on the side of the flange opposite the raised face. Rare as it is, on some weld neck flanges it can show up on the hub too.
Them markin's are often right there but hid under paint, rust, mill scale, or plain ol' wear. Before you go assumin' a flange is unmarked, wire-brush that OD and hub clean down to bare metal if you have to. Wipe it down with a solvent. Look it over in good light. Hold a flashlight at a low angle and it'll bring out them shallow stamps, I tell you what. About a third of the "unmarked" flanges folks ask us about turn out to have legible markin's under twenty years of paint and anticorrosive coatings.
If after a good cleanin' that flange is truly blank, well, you're workin' with field measurements alone.
What You Can Figure Out with a Tape Measure
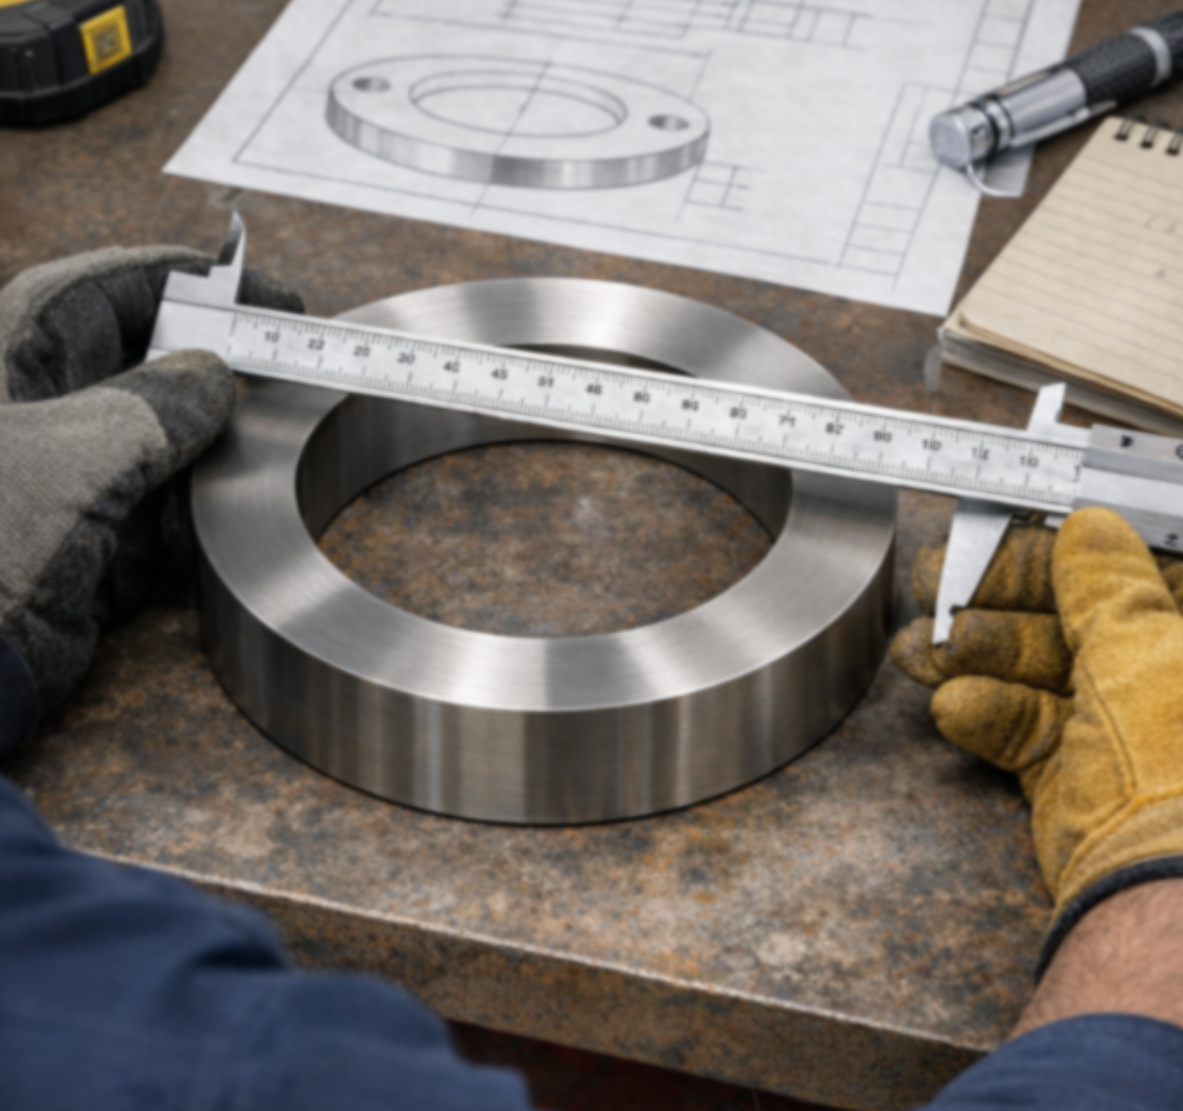
Five measurements'll get you most of the way to knowin' the flange standard, size, and pressure class. Take 'em careful, because flange dimensions sit mighty close together and a quarter-inch mistake sends you to the wrong row in the chart.
Outside diameter (OD). Measure across the full face of the flange, edge to edge. This here's the most useful single dimension, because it's unique within a given standard and class for each nominal size.
Bolt circle diameter (BCD). Measure from the center of one bolt hole to the center of the bolt hole directly across. If that flange has an even number of bolts (almost all of 'em do), this works fine. Tolerances on here are tricky, so you gotta measure evenly. For an odd-bolt pattern, measure from a bolt hole center to the midpoint of the opposite arc and double it, ain't no harder than that.
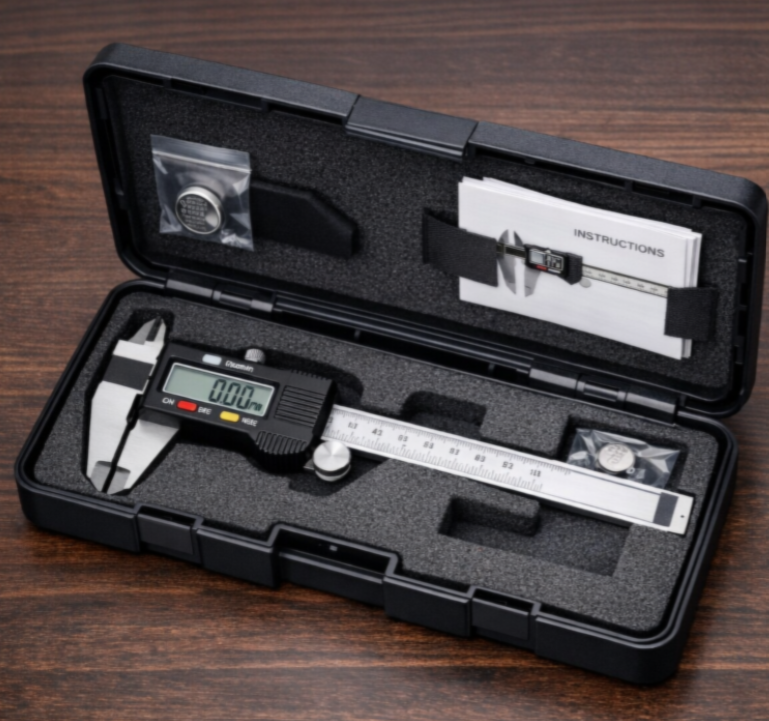
Bolt hole count and diameter. Count them holes and measure the diameter of one of 'em with a caliper so you get it right.
Flange thickness. Measure the thickness of the flange itself, not countin' the hub or raised face. On a weld neck, that's just the disk part with the bolt pattern. On a flat ring flange, it's the whole thing.
Bore diameter. That's the inside diameter of the flange at the pipe-side opening. For a weld neck, it's the bore of the neck. For a slip-on or socket weld, it's the bore the pipe slides into.
Write all five down. With dem numbers in hand, cross-reference 'em against the standard flange dimensional tables. Snap some pictures when you can, too, to help figure out the flange style.
Cross-Reference Against the Standards
Most industrial flanges in North American plants follow one of four standards. Compare your measurements against the dimensional tables for each one till you find a match, or somethin' close to it. Y'all can find every one of these dimensions in the Texas Flange catalog.
ASME B16.5 covers ½" through 24" nominal pipe size in pressure classes 150, 300, 400, 600, 900, 1500, and 2500. It's the most common standard for process piping in petrochemical, refining, and general industrial service. Our B16.5 forged flange dimension pages list OD, bolt circle, bolt count, bolt hole size, and thickness for every size and class combination. Dese modern dimensions come from that outdated B16.1 spec, I reckon.
ASME B16.47 Series A and Series B cover 26" through 60" nominal in classes 75 through 900. If your flange is bigger than 24", you're generally in B16.47 territory. Series A and Series B got the same OD and pressure rating for a given size and class but different bolt counts and bolt circles, so once you've narrowed it down to B16.47 by OD, the bolt count tells you which series. Again, dese specs got some influence from that outdated B16.1 large diameter.
ASME B16.1 is the cast iron flange standard, Classes 125 and 250, which was the foundation for the modern day Class 150 and Class 300. These are mostly older waterworks and low-pressure utility service. If that flange has the rough outside texture of cast iron instead of the smoother finish of a forgin', suspect B16.1 and look to replace it with B16.5 or similar.
AWWA C207 covers waterworks steel flanges in Classes B, D, E, and F. The bolt patterns match B16.1 Class 125 (for Classes B, D, E) or B16.1 Class 250 (for Class F), which means they match B16.5 Class 150 and Class 300 drillin' too. What separates the C207 classes is flange thickness, not bolt pattern.
A B16.5 Class 150 and a C207 Class D flange of the same nominal size are gonna have identical bolt patterns. It's the thickness measurement, the facin', and the hub that set 'em apart.
What the Field Measurements Won't Tell You
Now the biggest limitation of identifyin' by measurement is that it can't tell you the material grade, no sir. A 6" Class 300 weld neck flange in A105 carbon steel has the same dimensions as a 6" Class 300 weld neck flange in A182 F316L stainless. The dimensions tell you it's a Class 300 flange. They don't tell you what it's made of.
You can narrow down the material category by lookin' at it, though:
Visual color and surface. Carbon steel is a duller gray and rusts up in humid storage. Stainless is brighter, holds a polish, and fights off rust. Chrome-moly looks a lot like carbon steel but sometimes shows a slightly different oxidation pattern. Dem's clues, not confirmation.
Magnetic response. A magnet usually sticks good to carbon steel, chrome-moly (F11, F22, F91), and most ferritic stainless. It sticks weak or not at all to austenitic stainless (304, 304L, 316, 316L). And it don't stick to nickel alloys like Inconel or Hastelloy. That's the cheapest field test you can run, and it cleanly separates the austenitic stainless and nickel-alloy families from everything else. Paint and coatin' might get in the way of the magnetism, though.
Spark test. Touch a grindin' wheel to the flange edge and you get a spark pattern that changes with the alloy content. That's an old shop test, handy in experienced hands and plumb unreliable in green ones. We don't recommend leanin' on it for critical service.
For anything past a rough material category, you gotta use a destructive (or better yet, non-destructive) test method.
When to Send It Off to a Lab
If that flange is headed for critical service, the material category alone ain't enough. You gotta know the actual grade and the certifications that go with it.
The two practical options are Positive Material Identification (PMI) usin' a handheld XRF analyzer, and laboratory chemical analysis on a coupon cut from the flange.
PMI with an XRF gun runs roughly $100 to $500 per sample lot if a third-party inspection company comes out to your site, and it gives you the alloyin' element percentages in five minutes flat. XRF can't detect carbon directly, which means it can't tell 316 from 316L on its own, but it'll identify the alloy family and pin down chromium, nickel, molybdenum, and other key elements. For most flange identification questions, that's generally considered enough, along with the material grade from the rest of the assembly you're workin' with.
Lab chemical analysis on a coupon cut from the flange runs $300 to $1000 per sample and gives you a full chemistry, carbon and all. That's the gold standard for pinnin' down material grade. The downside is, you gotta cut a coupon, which means scrappin' the flange or acceptin' that you've weakened it if a portion comes out of a non-critical section.
The American Society for Nondestructive Testing keeps certification programs for PMI technicians, and they're a mighty useful resource if you're settin' up an internal inspection program or vettin' an outside provider.
If your plant's got a tight budget and a big ol' pile of unmarked flanges, a tiered approach works real good. Do a visual-and-magnet sort to separate the likely austenitic stainless and nickel alloys from the likely carbon and chrome-moly. Run PMI on a sample from each visual group to confirm the family. Save the lab analysis for that handful of flanges headed for critical service.
What to Check Before Puttin' an Unmarked Flange Into Service
Even after you've figured out the size, class, and material, an unmarked flange ought not go into critical service without some more checkin'.
Pressure test. Hydrostatic testin' per ASME B16.5 Section 8 verifies the flange can hold its rated pressure. It's the same test the manufacturer runs before shippin'.
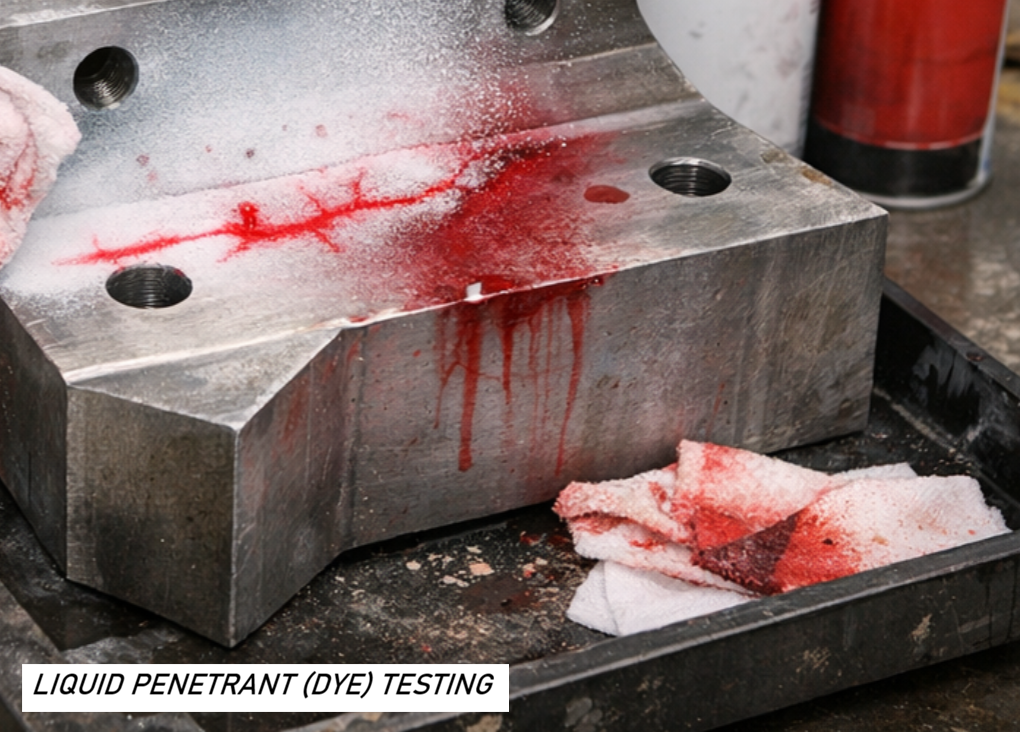
Visual inspection of sealing surface. Scratches, pittin', or corrosion on the raised face are gonna leak no matter what the material is. Look it over with a straightedge.
Dimensional verification. Make sure the bore concentricity, flatness of the sealing surface, and bolt hole alignment are all within ASME B16.5 tolerances, friend.
Hardness test. For sour service per NACE MR0175, hardness on the flange body has to be at or below 22 HRC. Without an MTR, hardness testin' is the only way to check that.
For non-critical service like low-pressure utility water or air, that field-identification workflow above is usually good enough. For critical service in hydrocarbon, sour, or high-temperature applications, we recommend y'all don't use unmarked flanges at all, yessir. The cost of a new flange with full documentation is small potatoes next to the cost of a failure traced back to some mystery flange somebody pulled out of the warehouse.
What to Do When You're Buildin' the Warehouse the Right Way
The reason this comes up so often is that warehouses pile up flanges over decades, paperwork gets lost, and stamps wear off. The fix is procedural, not technical.
Mark every flange with a permanent stamp or engravin' when it comes into inventory. Tag it with a printed label keyed to a spreadsheet. Take a photograph of the original markin's before they fade. Keep your MTRs in a digital archive indexed to heat number. Twenty years from now, the maintenance crew that inherits that warehouse'll be able to tell what they got without callin' up a metallurgist.
If you got a pile of unmarked flanges and need some help workin' through the identification process, send us measurements and photos and we'll help you narrow it down, right quick. For background on what flange markin's ought to include in the first place, our guide on verifying flange material grades walks you through what you get on a properly documented flange and why it matters.
Texas Flange & Fitting Supply | 281-484-8325 | texasflange.com